How to Document Water Damage for an Insurance Claim (Photo & Receipt Checklist)
Under-documented mitigation is the most common reason a water claim gets partially denied — and it is entirely avoidable in about twenty minutes of work.
Written by the San Ramon Water Damage Pros crew — IICRC-certified technicians working to the ANSI/IICRC S500 standard on water losses across San Ramon and the Tri-Valley. Guidance here reflects how we actually run jobs, not general advice.
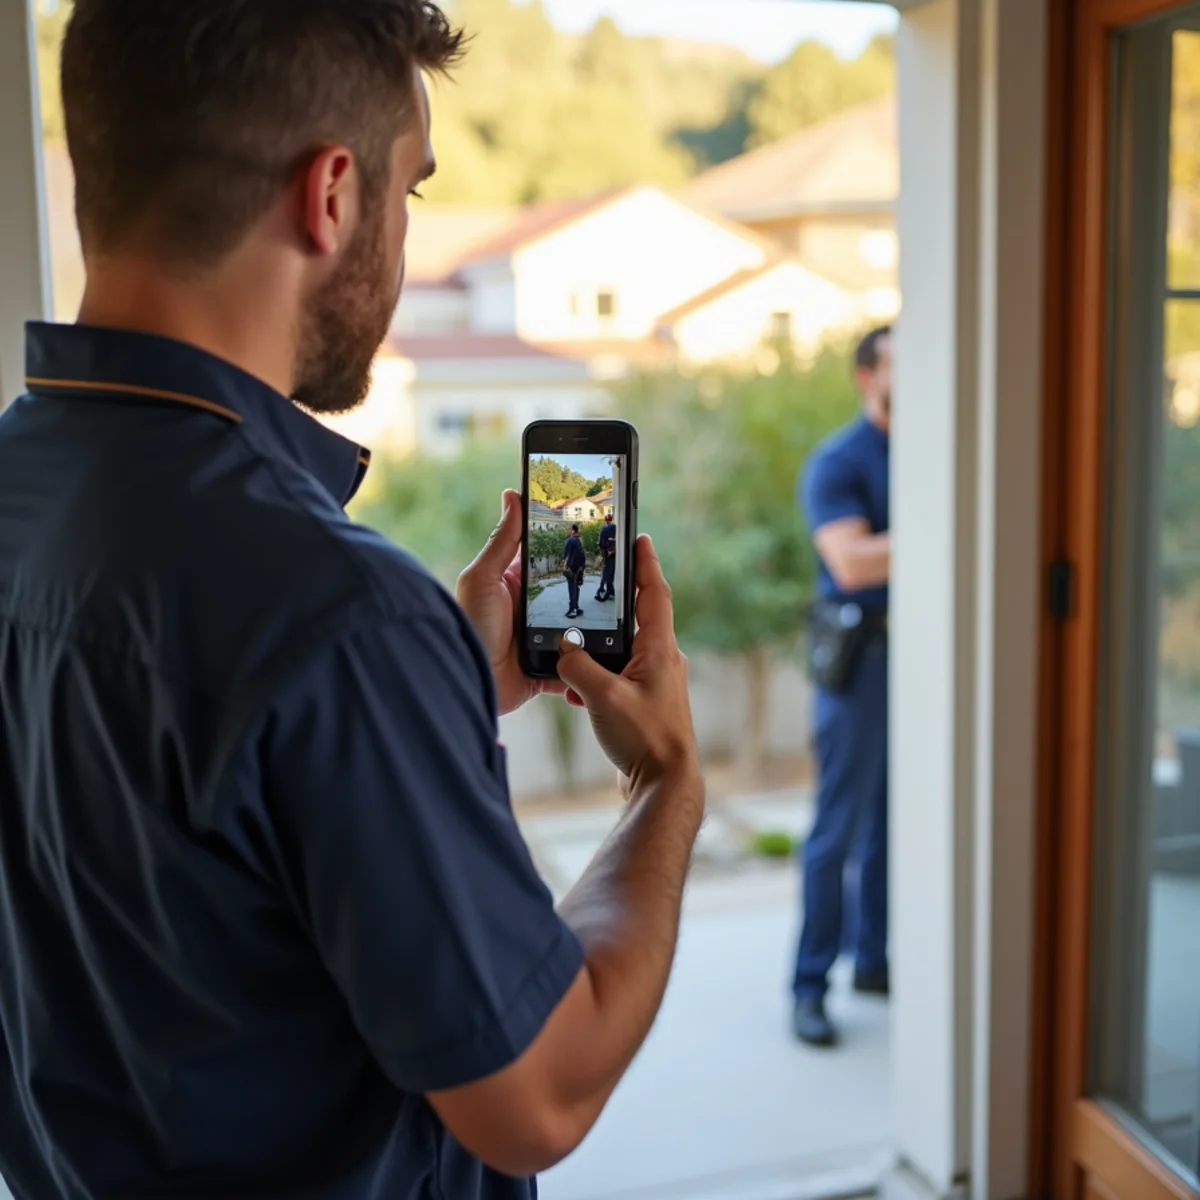
The single most avoidable way to lose money on a water damage claim is failing to document properly in the first hour. Adjusters are not adversaries, but they can only pay for what can be substantiated, and a great deal of evidence disappears permanently the moment cleanup starts.
This is the checklist. It takes about twenty minutes and it is worth doing before you move a single item.
Water damage happening right now?
We answer live 24 hours a day and commit to a 60-minute response across San Ramon.
+1 (201) 277-9344Before You Touch Anything
The order matters. Document first, move second, clean third. Once furniture has been moved and water mopped, the extent of the loss becomes an assertion rather than a record.
 1
1Shoot video first, walking the whole affected area
One continuous clip, narrating what you are seeing and the date. Video captures context and extent far better than stills and is harder to dispute.
 2
2Photograph wide, then medium, then close
Each room from the doorway, then each affected wall or area, then close-ups of specific damage. This sequence lets an adjuster locate every close-up within the room.
 3
3Capture the water line on walls and furniture
The visible tide line establishes depth, which drives the demolition height on walls. Put a tape measure or a ruler in frame if you can.
 4
4Photograph the failed component itself
The burst pipe, the split water heater tank, the failed supply hose, the cracked fitting. This is the most commonly missed photograph and the most commonly requested one — and the component is usually the first thing hauled away.
 5
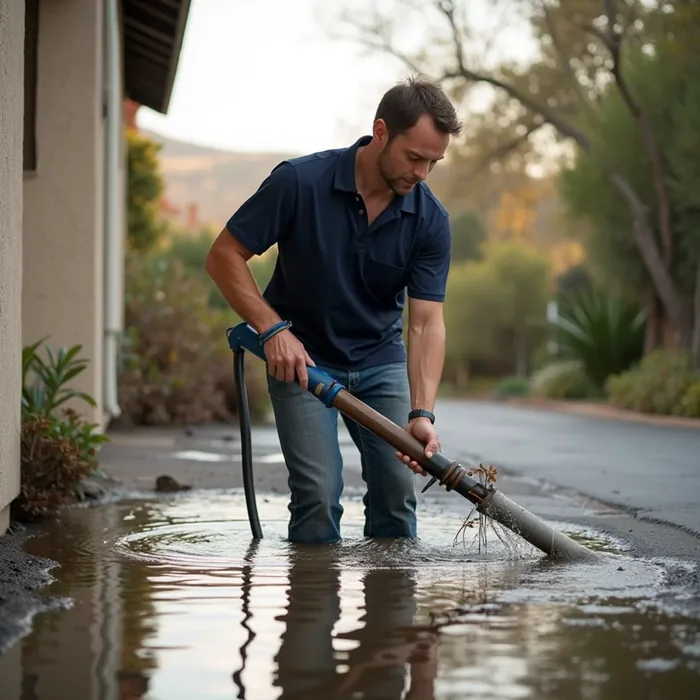
5Photograph standing water before extraction
Depth and extent. Once it is extracted there is no way to demonstrate how much there was.
 6
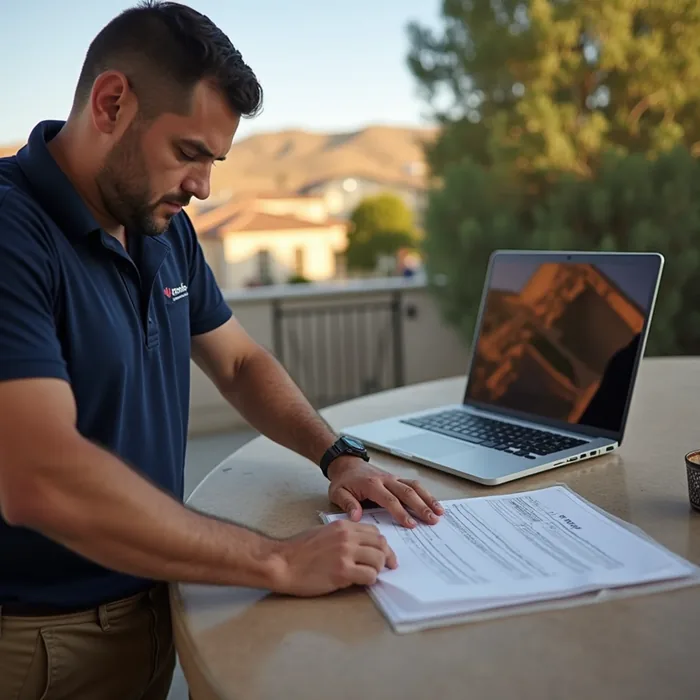
6Document contents individually
Furniture, electronics, rugs, clothing, stored boxes. For anything valuable, photograph model and serial numbers where visible.
What to Photograph That People Forget
- Inside cabinets and under sinks, including the base and back panel.
- Behind and beneath appliances once they are pulled out.
- The ceiling below an upper-floor loss, including any sagging.
- The attic above a roof leak, showing wet insulation and sheathing.
- The crawl space, if water reached it.
- Baseboards, door casings and the bottom of door slabs.
- The exterior, if the source was storm-related — roof damage, downed limbs, overflowing gutters, water at thresholds.
- Anything that establishes the date: a newspaper, a phone showing the date, or simply relying on file timestamps.
Keep a Written Log
A simple running log turns a pile of photographs into a narrative an adjuster can follow. It does not need to be formal — notes on your phone are fine — but it should be contemporaneous rather than reconstructed later.
- When you discovered the damage, and what you saw.
- When you shut off the water, and when you cut power.
- Every phone call: who you spoke to, when, and what was agreed. Include the claim number as soon as you have it.
- When the restoration crew arrived and what they did each day.
- Any advice given by the carrier or the adjuster, and by whom.
- Dates you were displaced from the home, if applicable.
Receipts to Keep
- Emergency supplies — tarps, buckets, fans, dehumidifier rental, cleaning materials.
- Temporary accommodation. Most policies include Additional Living Expense coverage and it is routinely underclaimed.
- Meals while displaced, above what you would normally spend at home.
- Laundry and dry cleaning for affected textiles.
- Storage costs for contents moved out.
- Boarding for pets if you cannot keep them with you.
- Mileage if you are commuting further from temporary accommodation.
- Any plumbing repair invoices, which establish the cause of loss even where the repair itself is not covered.
The Document That Matters Most: The Drying Log
Ask your restoration company for the drying log at completion, and make sure they are producing one from day one. This is the daily record of moisture content readings in affected materials, the dry standard established from unaffected materials in the same building, equipment placement and ambient conditions.
It does two things. First, it substantiates the mitigation invoice — it shows why equipment ran for six days rather than three. Second, and more importantly for you, it proves the structure actually reached a dry standard. If a mold problem appears in that wall two years from now, the drying log is what demonstrates the mitigation was done properly.
If a restoration company cannot produce moisture readings and a dry standard, you have no evidence the job was completed correctly — and neither does your adjuster.
Do Not Throw Anything Away Yet
This is the most common documentation mistake after failing to photograph the failed component. Damaged contents need to be seen — or at least thoroughly photographed — before disposal.
For Category 3 losses this creates a genuine tension, because contaminated porous items should not stay in the house. The resolution is to photograph everything thoroughly, list it with approximate age and value, and have your restoration company document the disposal. Do not simply bag it and take it to the dump without a record.
What Adjusters Look For That Homeowners Never Think About
An adjuster is answering a specific set of questions: was this sudden, was it mitigated promptly, and is the scope justified. Most homeowner documentation answers the first question well and the other two barely at all. These are the things that make a file easy to approve.
- A timestamp on the discovery. When you found it, not when you called. A photograph taken at the time carries this automatically.
- Evidence the source was stopped. A photograph of the closed valve, or of the plumber's invoice with its time on it, establishes that you acted rather than waited.
- The failed component, photographed in place before removal and then kept. This single item is what distinguishes a sudden discharge from a long-standing leak.
- Wide shots as well as close-ups. Detail photographs prove damage; room-wide photographs prove where in the house it was and how far it extended.
- Moisture readings rather than descriptions. A meter reading against a dry standard is measurable evidence; damp to the touch is an opinion.
- A record of what was removed and why. Material taken out under the S500 standard because of water category is defensible; material removed without a stated reason is questioned.
- Equipment logs. What was placed, where, when it was set and when it came out — this is what justifies the drying portion of the bill.
- Contents photographed individually before disposal, with make and rough age where you know them.
Frequently asked questions
The failed component itself — the burst pipe, the split water heater, the failed supply hose. Adjusters routinely ask for evidence of the original failure point, and it is almost always the first thing removed and discarded. Photograph it before the plumber touches it.
No. Nearly every policy obligates you to mitigate and prevent further damage, so waiting can work against you. Document thoroughly, report the claim, and start emergency mitigation immediately — the documentation is what allows both to happen without conflict.
It is the daily record of moisture readings, the dry standard established from unaffected materials, and equipment placement. It substantiates the mitigation invoice for your adjuster and proves the structure was properly dried — which protects you if a mold question arises years later.
Until the claim is closed and paid, and then a couple of years beyond that. Supplemental claims happen when damage surfaces later — a floor that cups two months on, growth found during reconstruction — and reopening a file is far easier when the original documentation still exists. Digital copies cost nothing to keep, so keep them rather than the paper.
Your own record is worth keeping alongside ours. We document scope, readings and drying because that is our part of the file, but we arrive after the event — your photographs from the first minutes cover the period nobody else witnessed. If there is ever a disagreement about the original condition of a room, that gap is exactly where it sits.
The short version
Video first, photograph the failed component, log everything as it happens, keep every receipt, and demand the drying log at the end.
We build this documentation package as part of every job and bill carriers directly, so the evidence exists whether or not you thought to capture it in the first hour.